This is the 1st entriy of the HYCU backup series.
- Part.1 Installing HYCU Backup Controller
- Part.2 Adding Backup Source
- Part.3 Adding Target
- Part.4 Definition of Backup Policy
- Part.5 Backup and Restore VM
I'm going to share how to use HYCU on Nutanix AHV. HYCU is well-know Nutanix friedly backing up tool, so it's easy to deploy on Nutanix AHV.
HYCU is simply provided as virtual appliance, so that it's not need Windows Server license and Windows upgrade which are required on other backup tools.
At this time, I'm going to show how to deploy the HYCU Backup Controller on Nutanix AHV. HYCU also provides some other tools such as HYCU Instance, HYCU Manager, but this time I deploy and use only Backup Controller.
※The content of this blog is based on my own evaluation work and knowledge. Please follow the official documentation when actually installing and using the products.
Table of Contents
Environment
Platform: NX-1465-G5
AOS: 6.5.1.5 LTS
AHV: 20201105.30417
Backup Tool: HYCU Backup Controller(4.6.0)
▽Overview
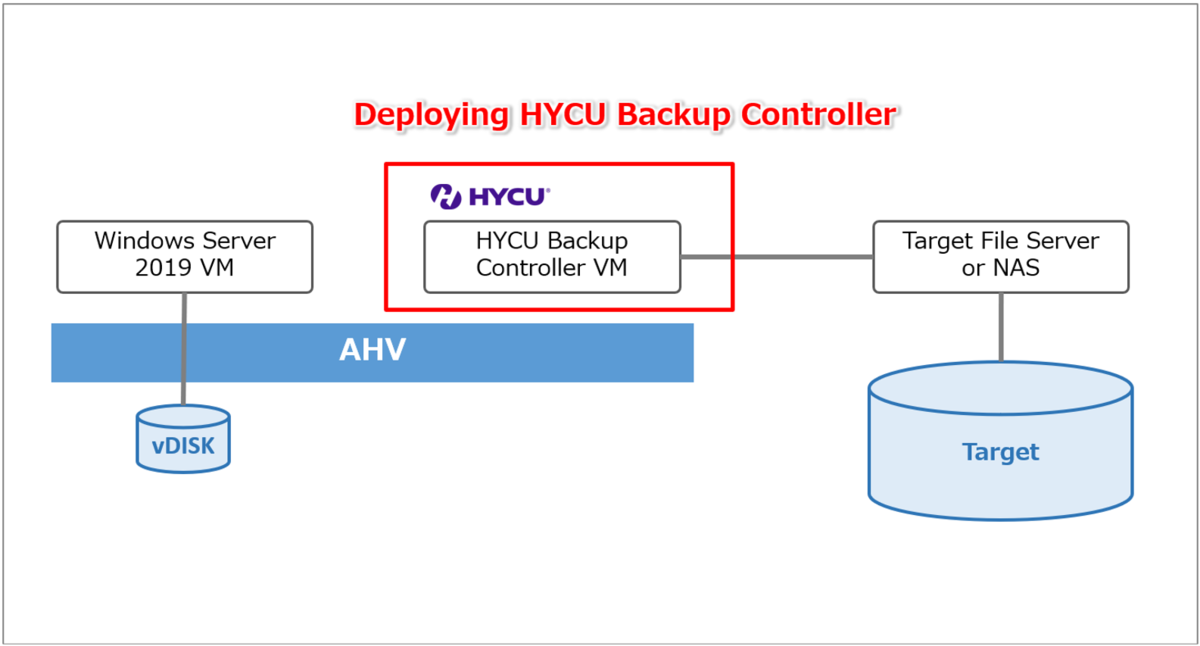
1. Deploying HYCU Backup Controller
▽Prepare HYCU disk image file (.qcow2) which is provided by HYCU support portal.
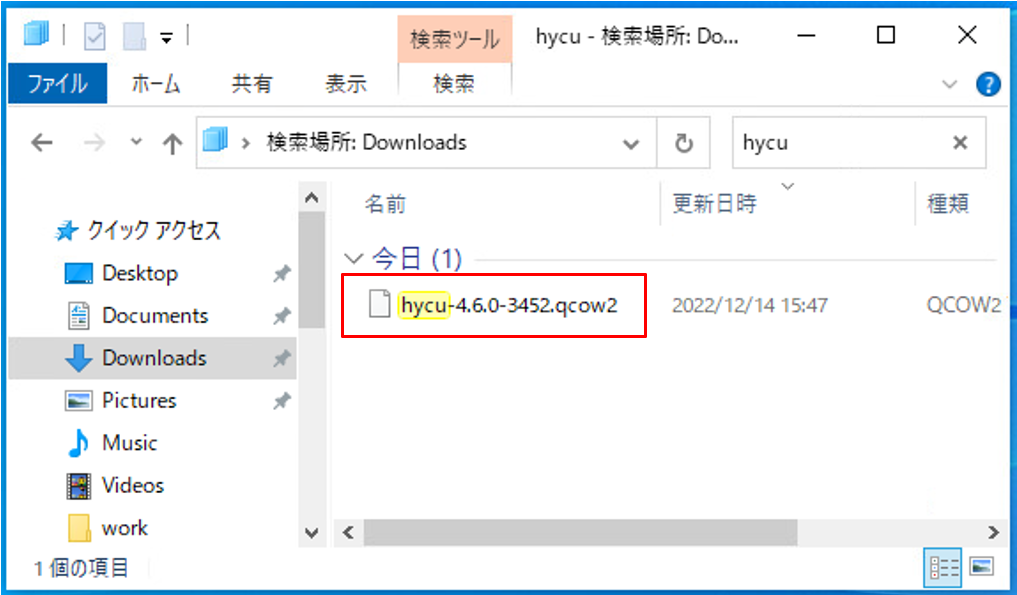
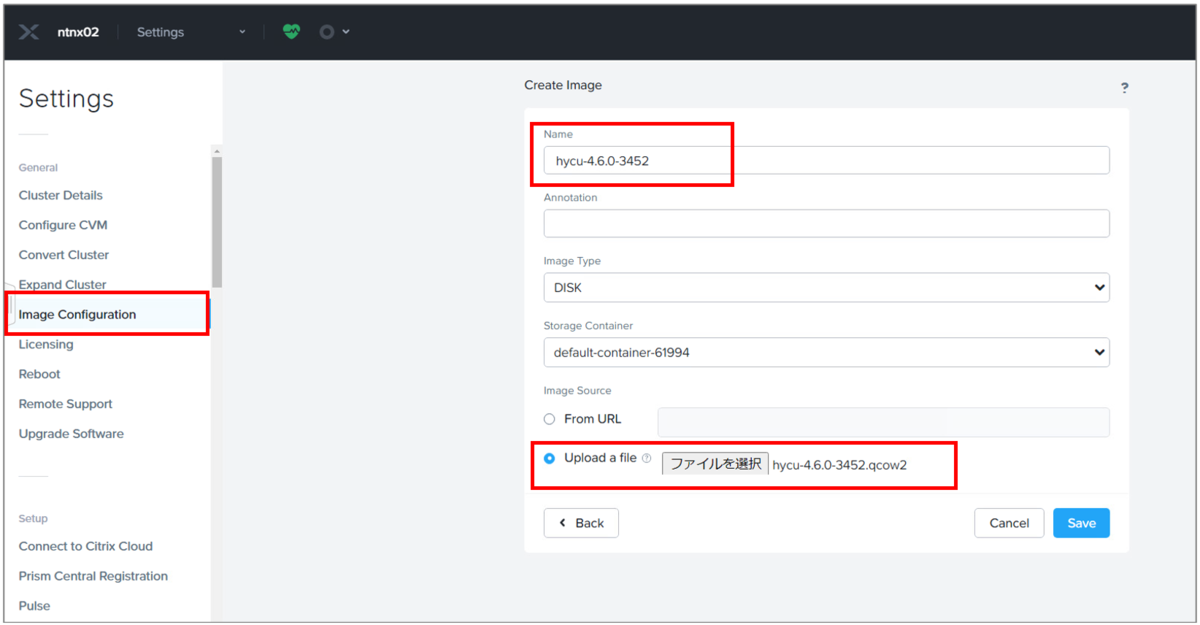
▽Access Nutanix Prism Image Service and upload it with the same name of the disk image file. For instance, if the name of the disk image file is "hycu-4.6.0-3452.qcow2" then HYCU image name is "hycu-4.6.0-3452".
If you enter the HYCU image name in a different format, you will not be able to
use this image for an upgrade.
<reference>
HYCU User Guide >> Deploying HYCU to a Nutanix AHV cluster
https://download.hycu.com/ec/v4.6.0/help/en/HYCU_UserGuide.pdf
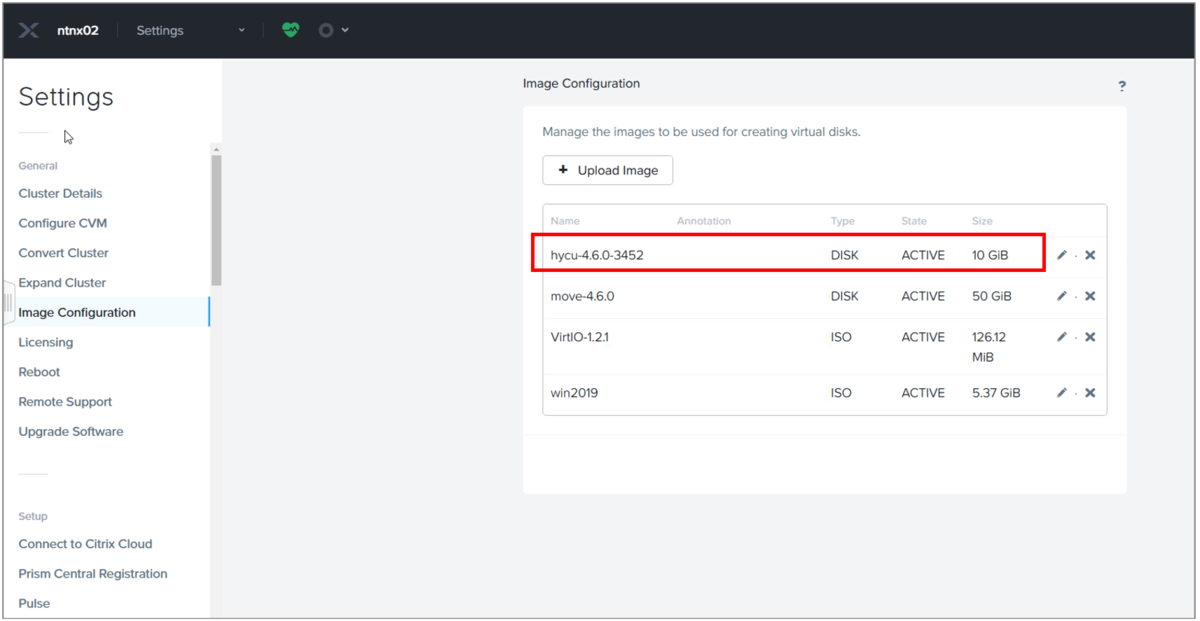
▽After finishing upload and validation proccess, the file is displayed on Prism with active status.
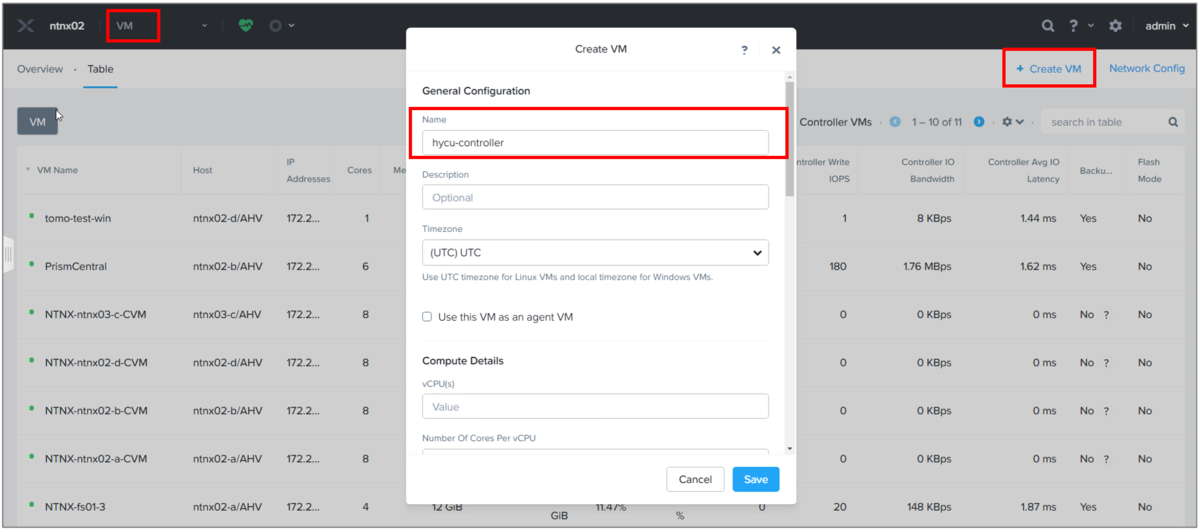
▽Launch VM creation dialog and enter new VM name first.
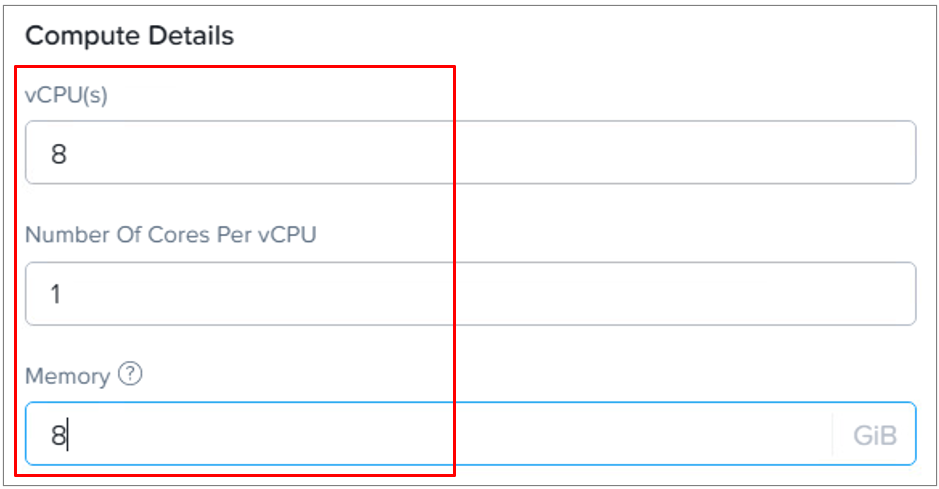
▽The minimum resource requirements are 4 vCPU and 4 GiB RAM. At this time, I set following value based on the recommended sizing.
<reference>
HYCU User Guide >> Sizing resources for your HYCU backup infrastructure
https://download.hycu.com/ec/v4.6.0/help/en/HYCU_UserGuide.pdf
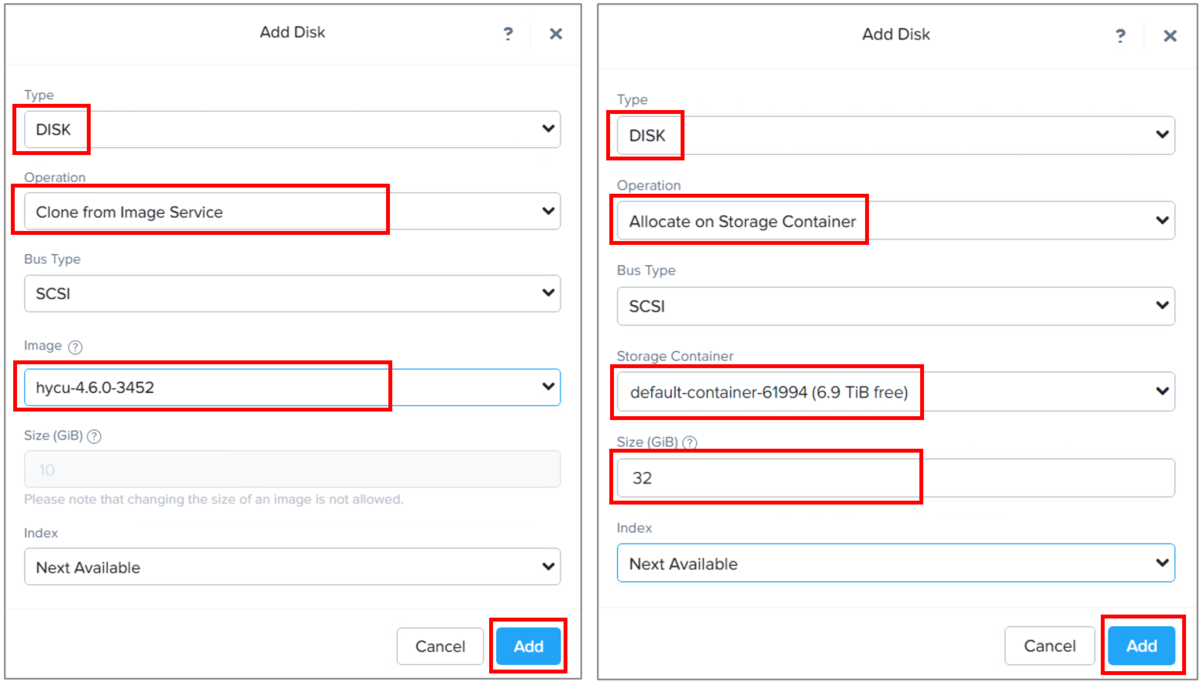
▽Add following 2 disks.
- OS disk - for HYCU image previously uploaded.
- Data disk - 32 GiB is enough up to 200 source VMs
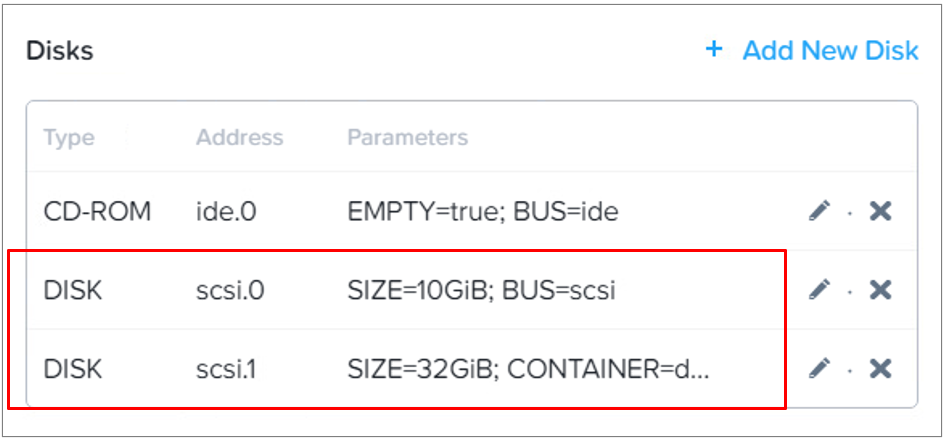
▽added disks.
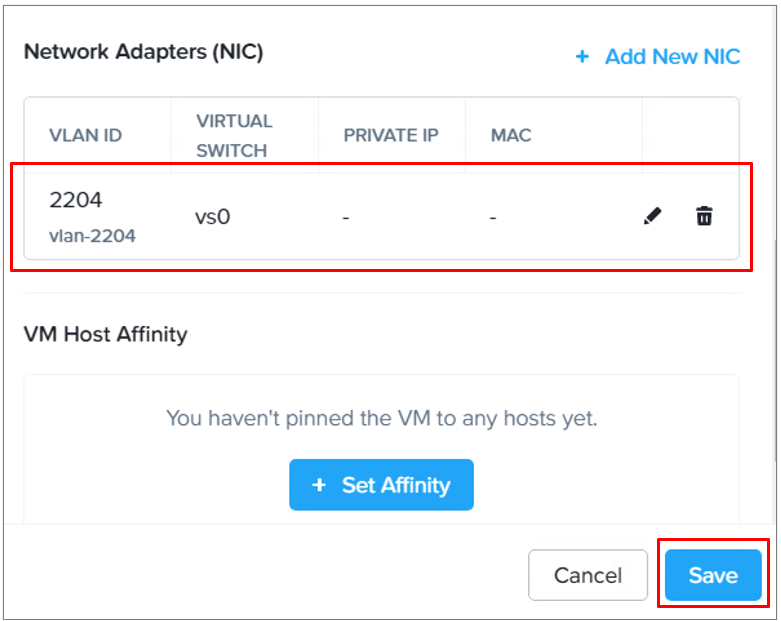
▽Also add vNIC (VLAN) which is able to connect CVM/Hypervisor network and source VMs network. After all setings done, save and create VM.
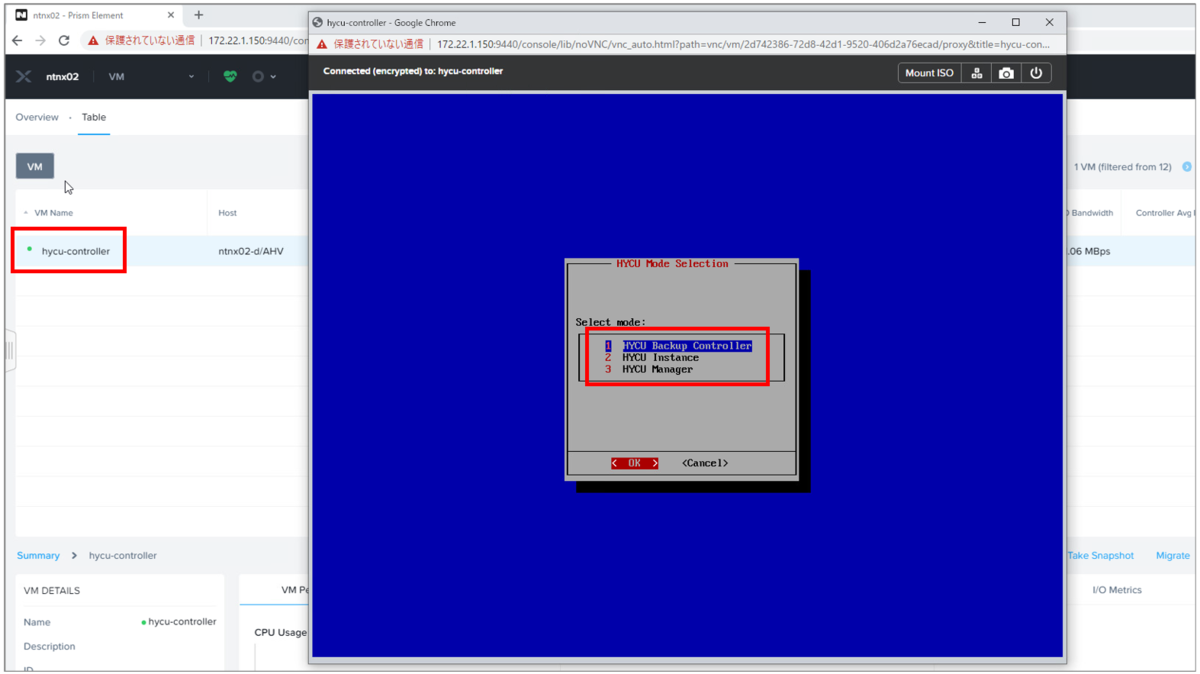
▽Set powered on the VM and launch console on Prism. Select HYCU Backup Controller and OK
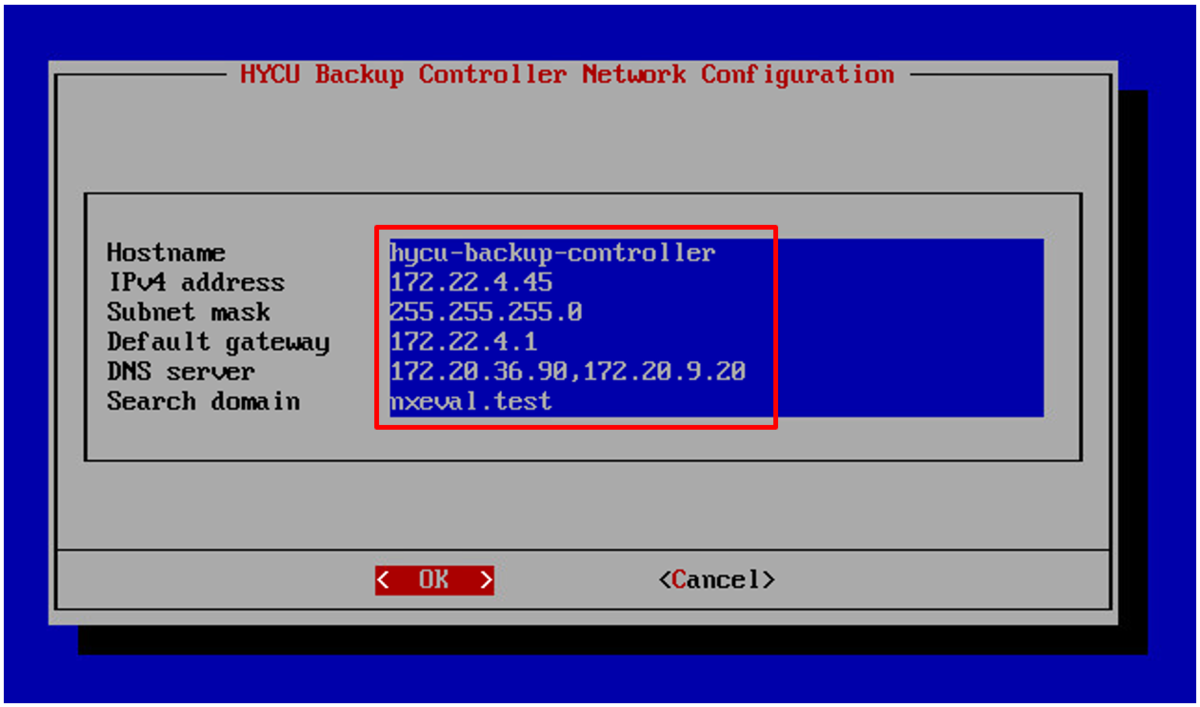
▽Enter host name and network settings.
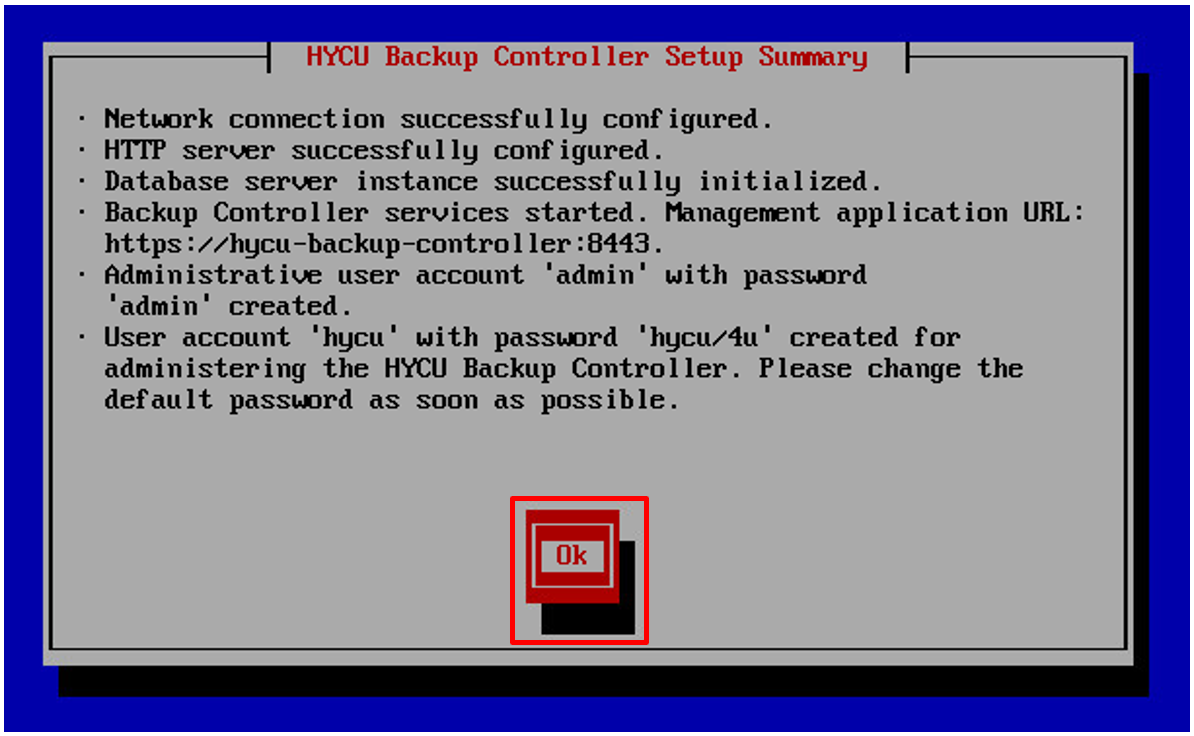
▽Check summary and select OK
2. Logging on to HYCU console
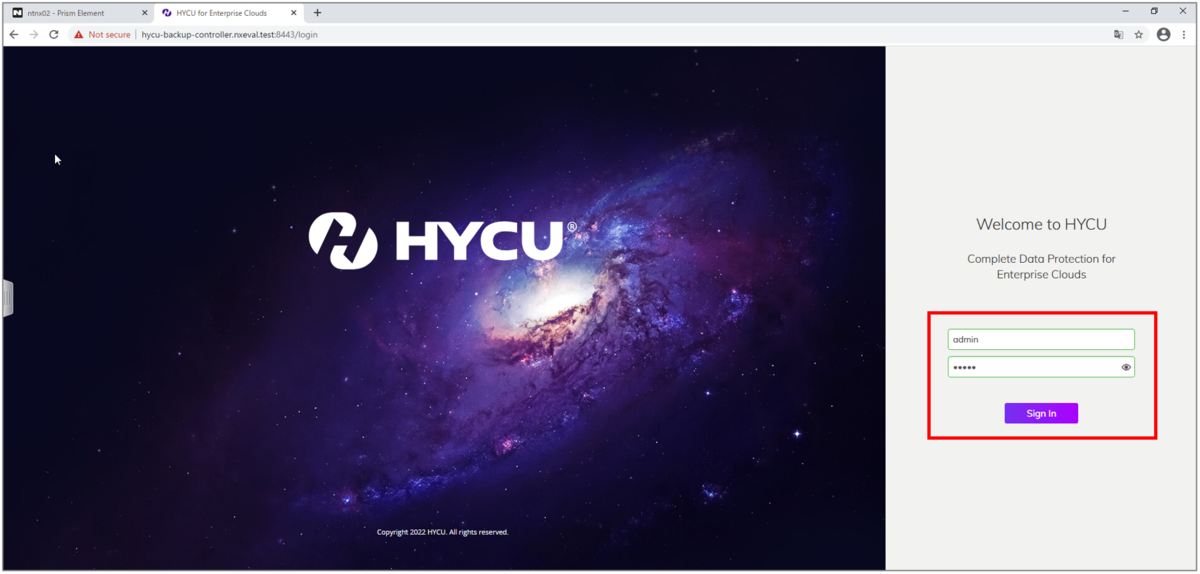
▽After finishing initial settings, access HYCU console through browser.
default admin user: admin
default admin user password: admin
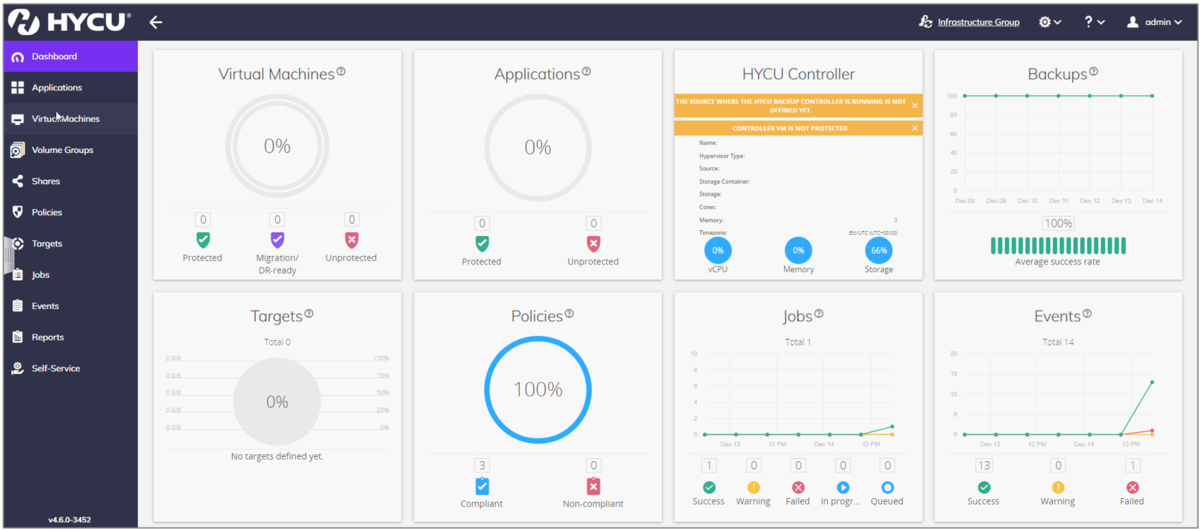
▽HYCU Dashboad displayed.
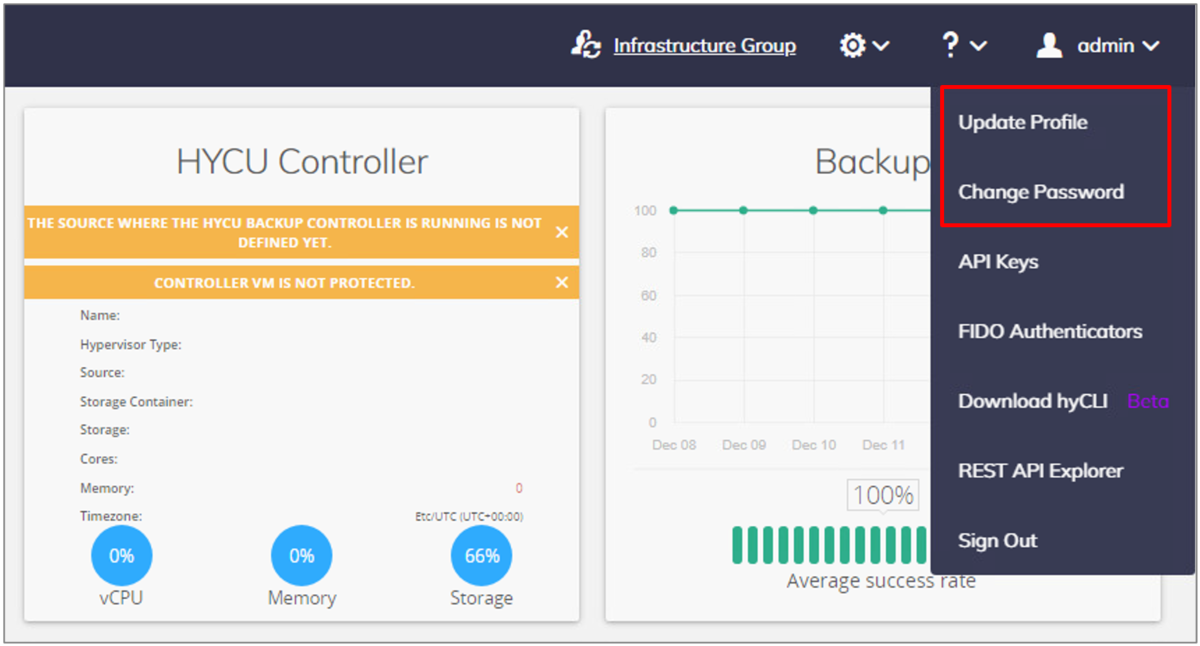
▽You can change language and password on the user menu "Update Profile" and "Change Password" as needed.
Thank you for reading! Hope it will be useful for you!
Next: Adding Backup Source